Ryan Restorations is unique because we have specialized in the historic restoration of slate roofing, tile roofing, and copper roofing systems since 1999. We also fabricate a wide range of architectural copper ornaments, including finials, dormers, vents, crestings, and other decorative roofing elements for historical restoration projects.
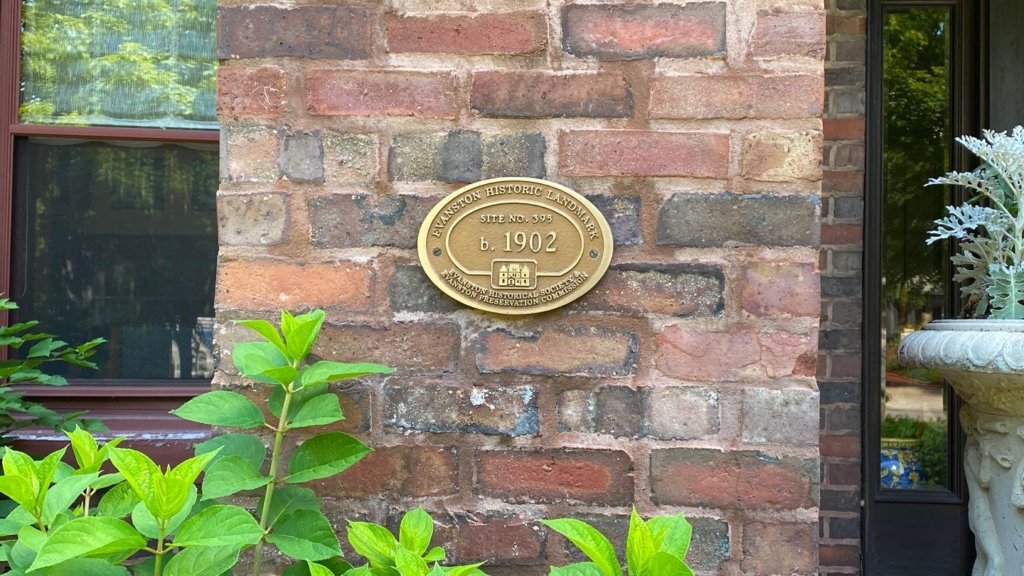
We recently put on a New Ludowici Flat Slab & Copper roof in Evanston’s Lake Shore Historic District. It is a beautiful Historical Landmark Home, Site # 395. During some periods in the history of architecture, the roof imparts much of the architectural character. It defines the style and contributes to the building’s aesthetics.
Here we are going to show you some of the intricate details we accomplish for a project like this. One challenge for our specialty is problem-solving skills. We have to appear like a detective trying to find missing pieces. Configurations of these roofs are complex and it can be a guessing game. So come along with the team of Ryan Restorations to enjoy what goes on when we come to install a New Roof.
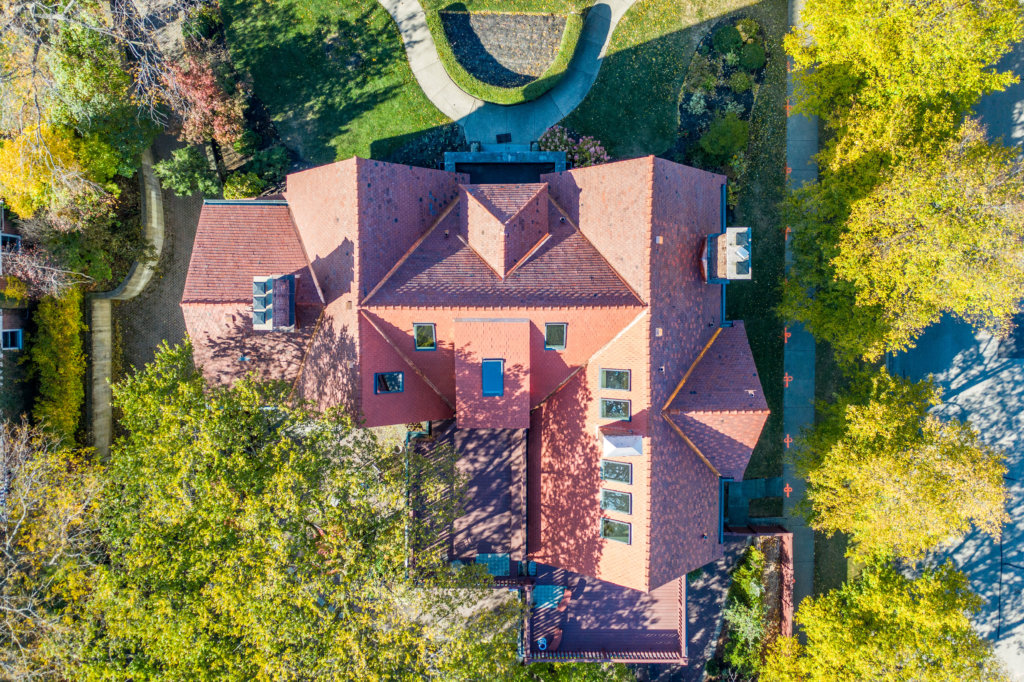
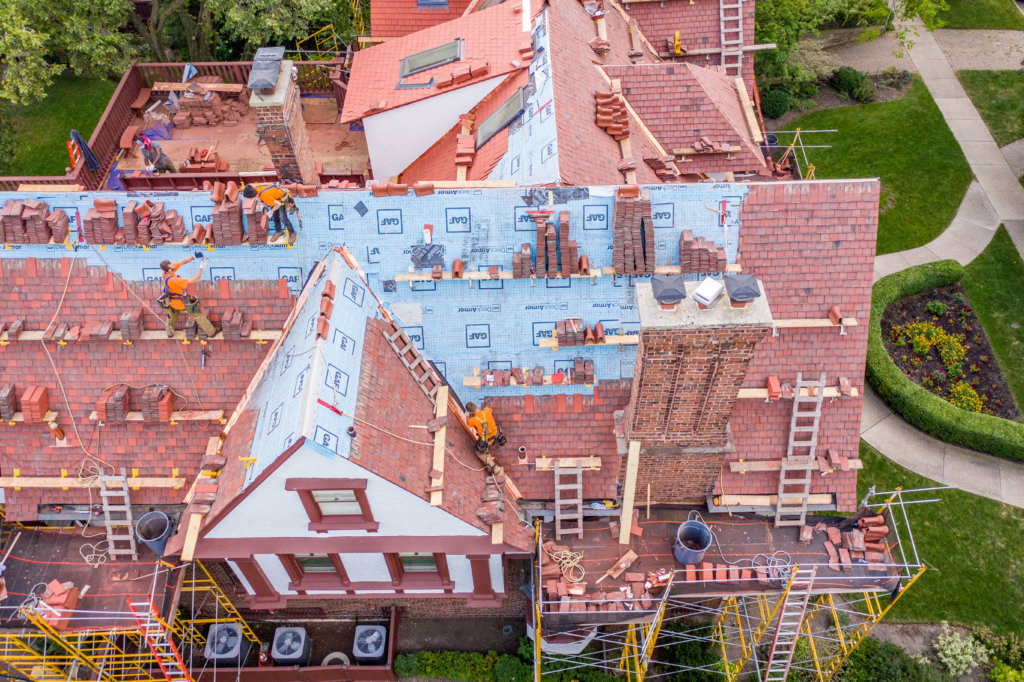
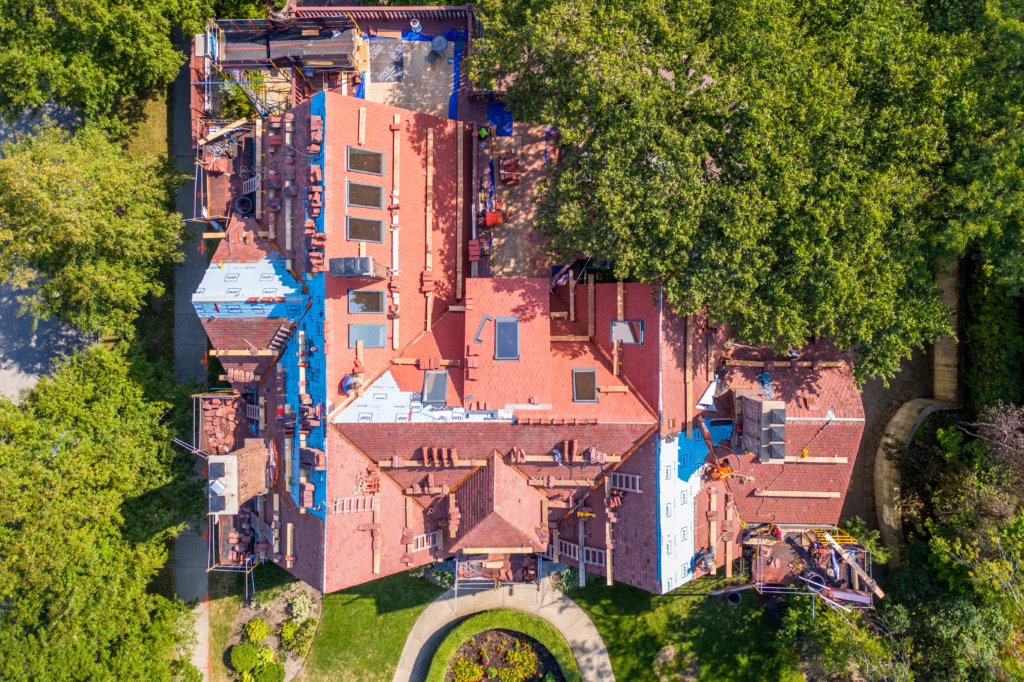
Now we rise above to get a better look at the craftsmanship of your local historic roofing specialist. While of course we love to show off the finished project, here we are showing just how much goes into the setup and actual work itself. This illustrates how extremely steep the roofs can be.
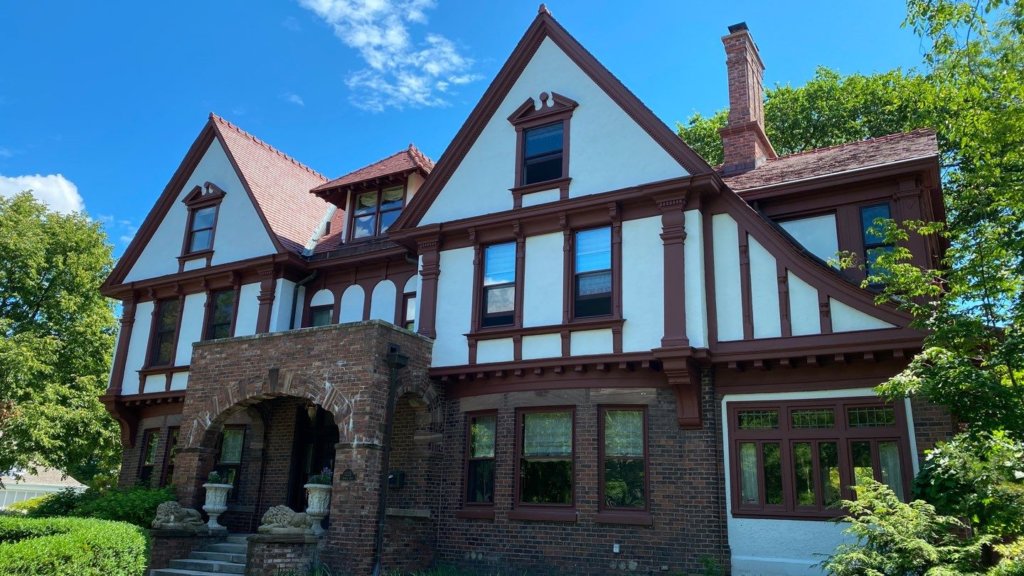
In the image above, the front door is on the right hand side to give you some perspective since the home is so large. The black debris netting is easily seen on bottom left, but it is there everywhere. Debris netting is even higher on the far left hand side. The Material Hoist is on the far left, which goes up and down to bring the tile up.
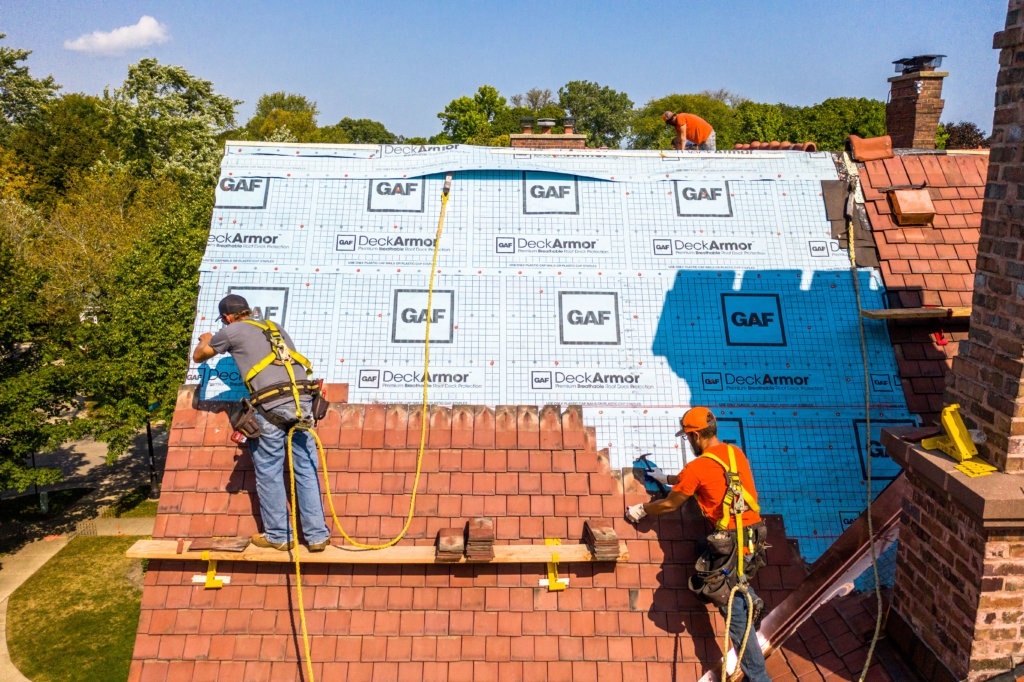
Our story is going to show how we work from all different angles. We realize that so much is done that cannot be appreciated unless you were up there on the roof with us. For beginners, the next image will show how the wood latter is connected with a jack and planks. It is nailed with 16 Penny (3 inch nails). You can also see the supply of tiles that are readily available, and there is a strategy where the tile is stacked.
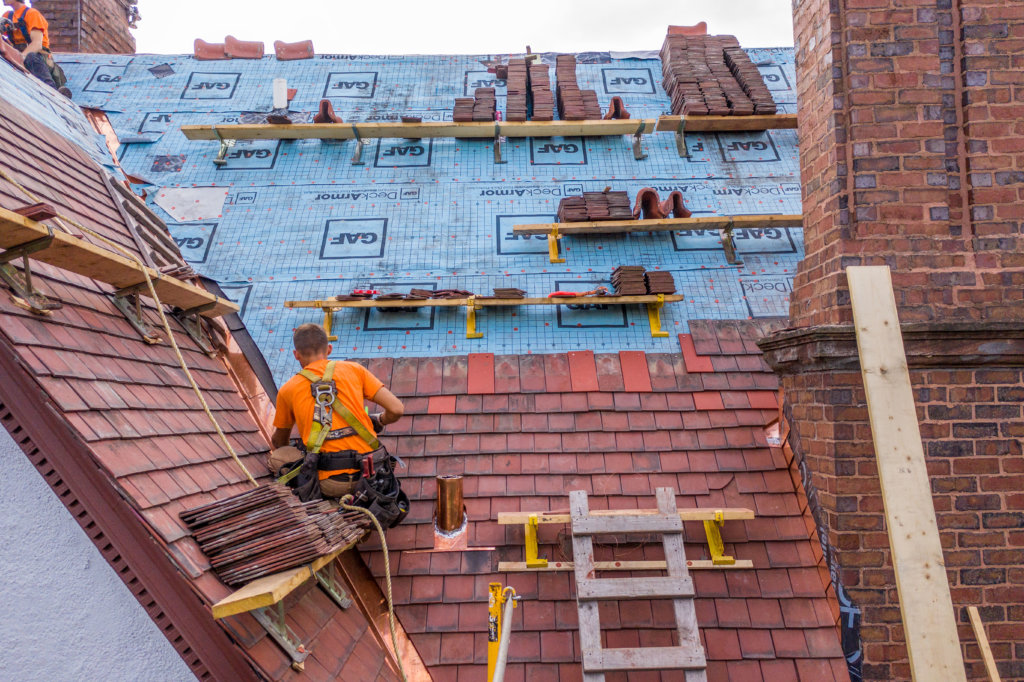
And to appreciate how organized the process is, this next picture goes above the roofer to show how the ladder is hooked to the roof jack. The right side of the ladder lays parallel in the valley.
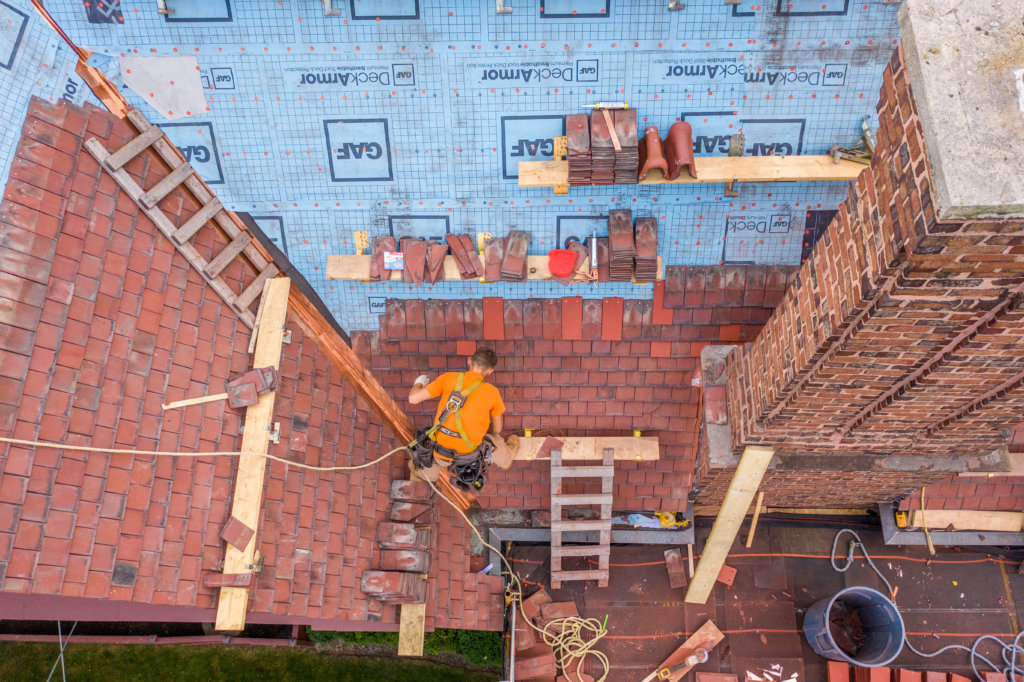
Coming back down and now going around the chimney, notice all the fall protection equipment on each roofer.
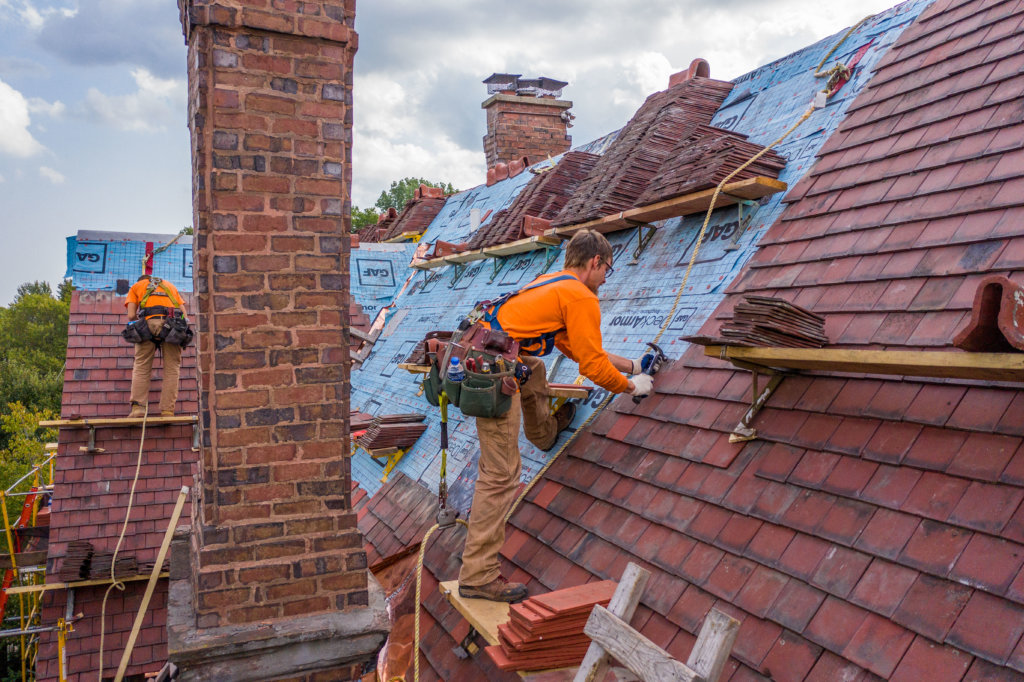
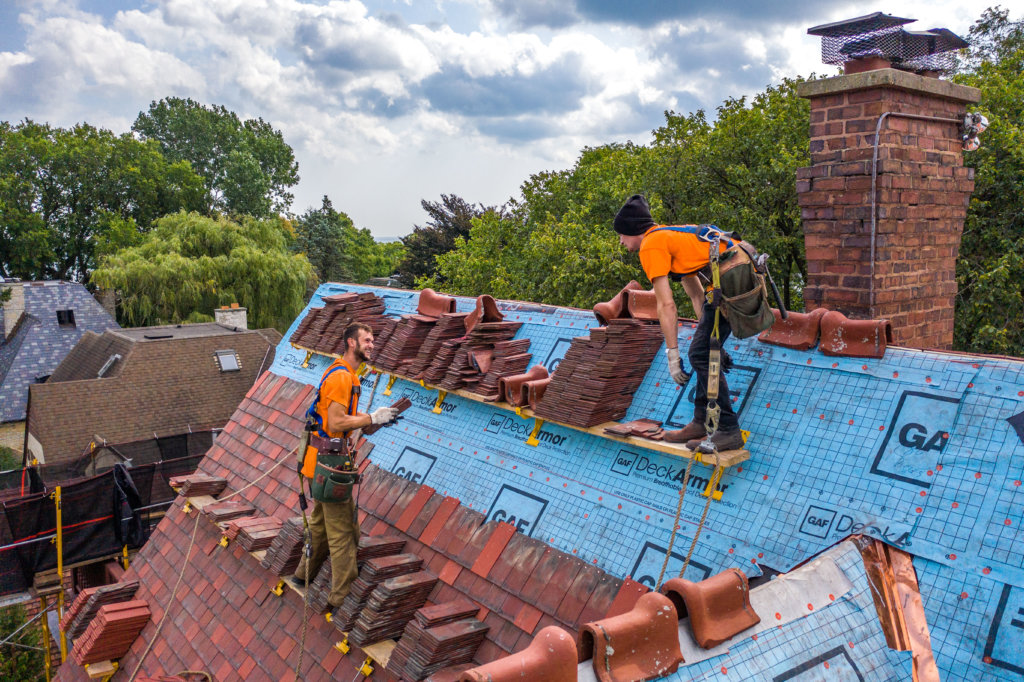
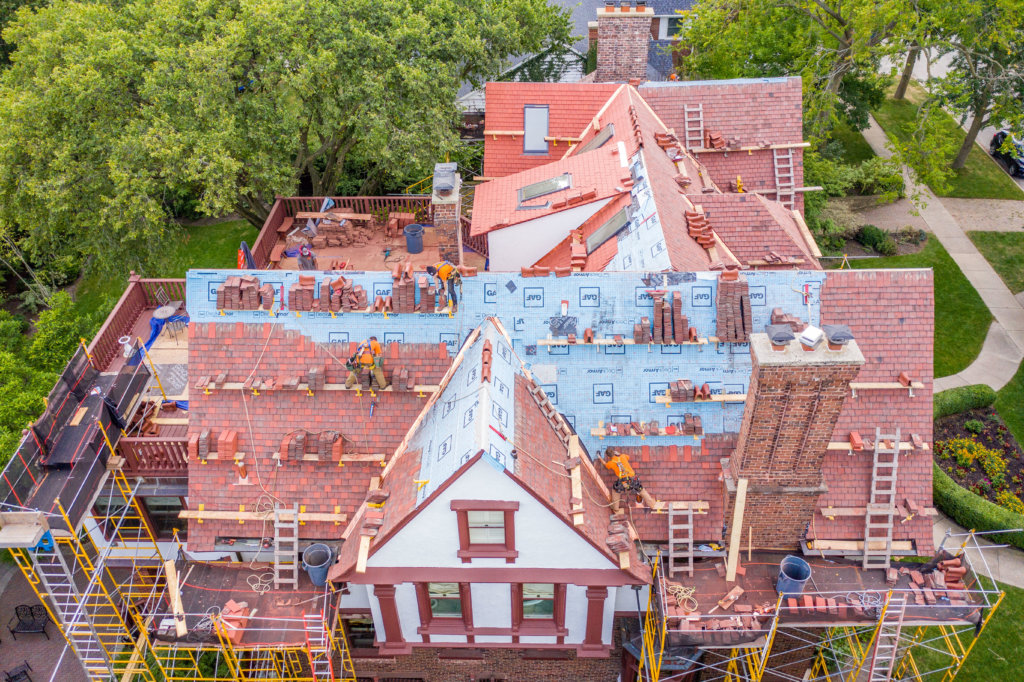
In the images above, in addition to emphasizing the safety, one may be rather impressed with the amount of tile we need to bring on to the roof. That is part of our craft to know the best layouts in order to have the entire process be efficient too. In the next photo we show ridge cap tiles neatly organized.
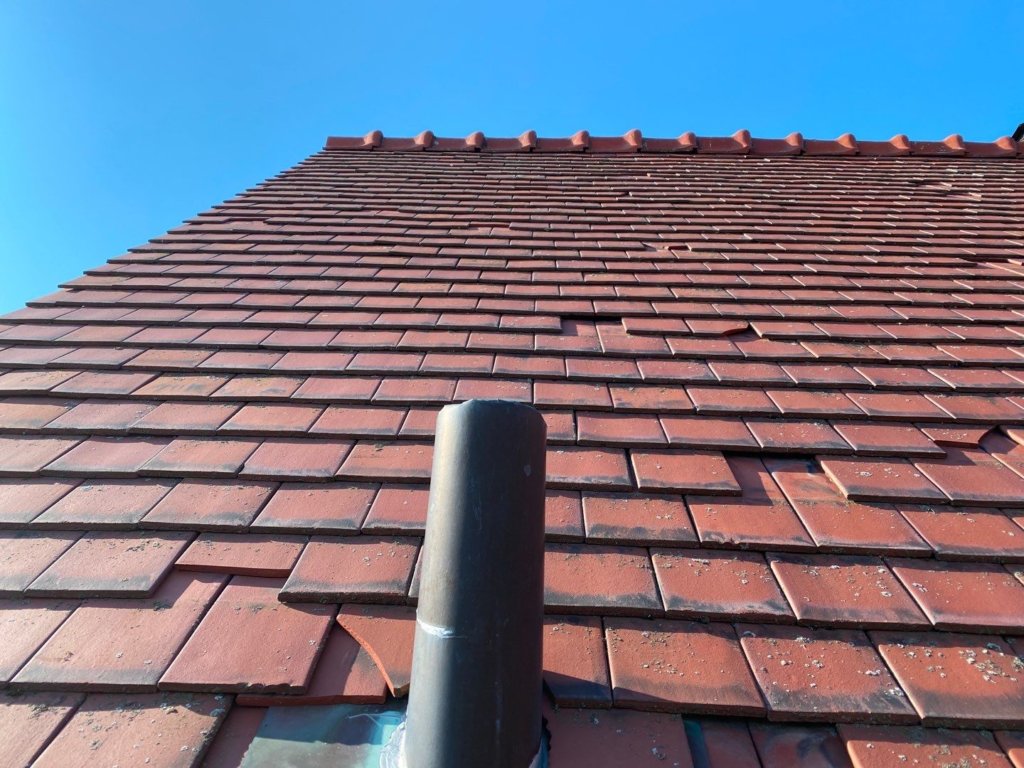
There is so much always going on during a new roof installation. Here is an example showing so many varying topics including new valley flashing already installed and new tar paper installed. The tile is being laid down and is installed with 2 Copper Nails.
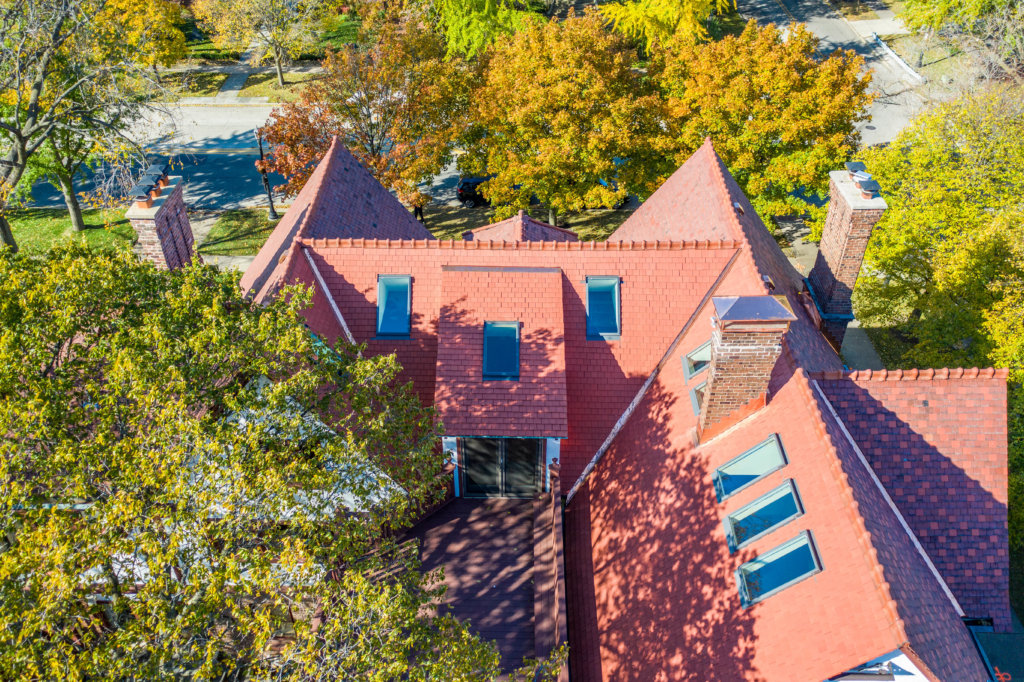
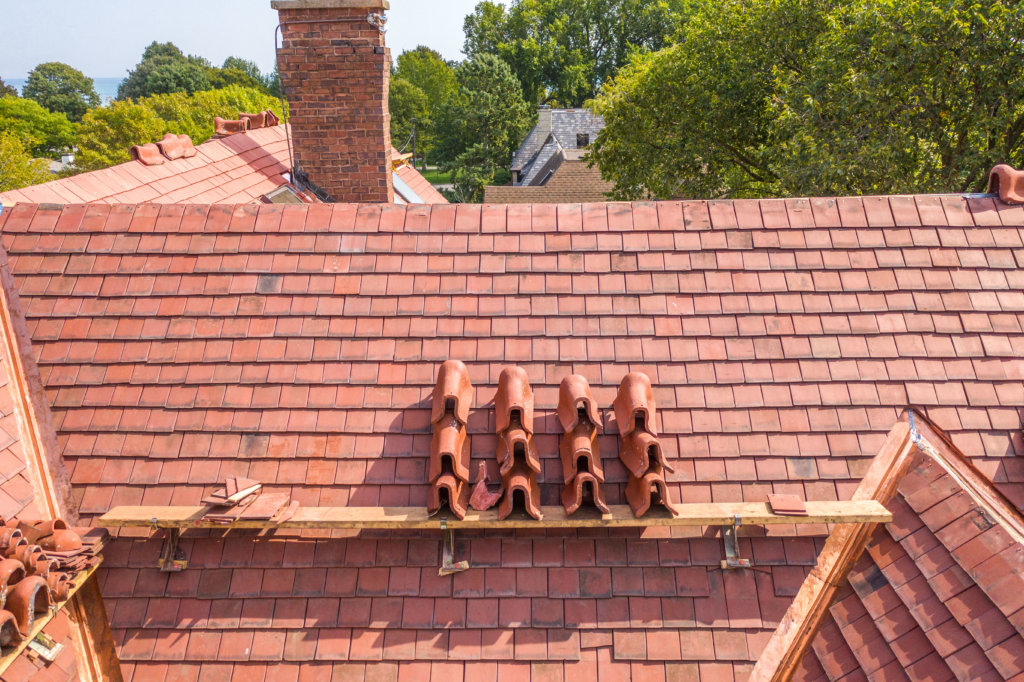
And next you can see how everything begins to shape up after everything is installed, including the ridge cap tiles that were neatly stacked. Only thing new to mention is the copper roof vent, on the top right that we previously did not talk about.
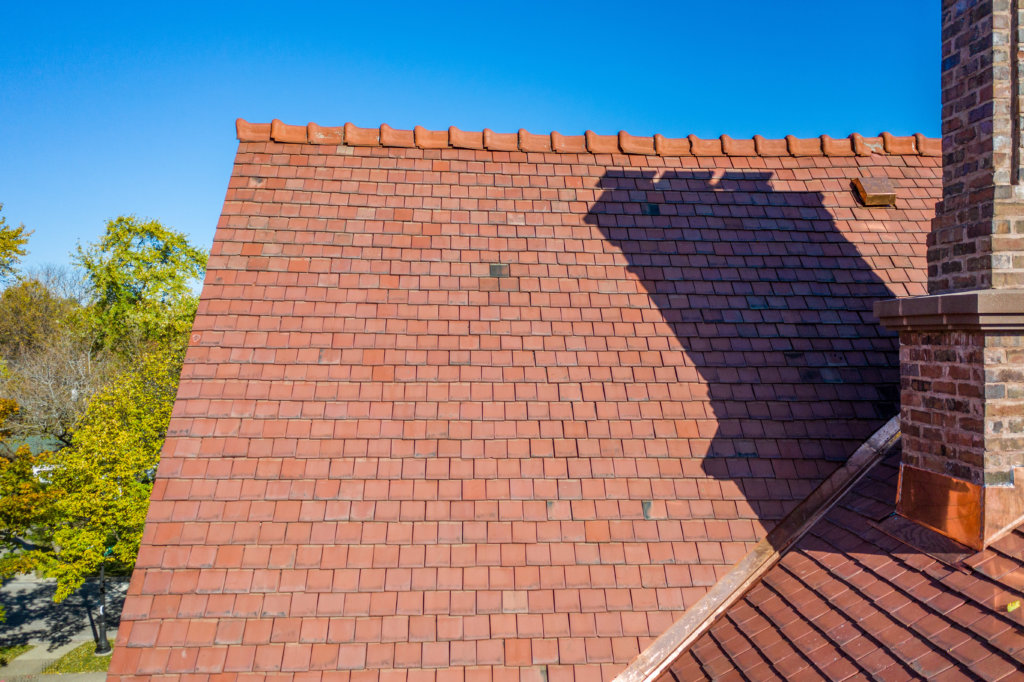
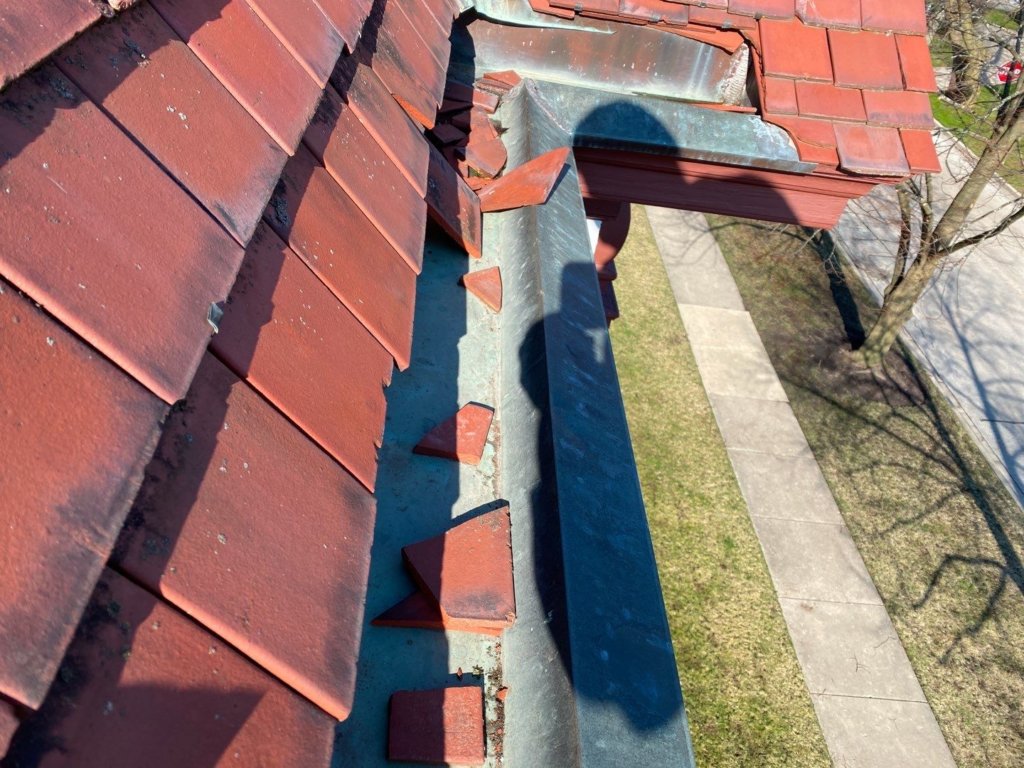
Looking at the above finished section, it is hard to imagine where the entire project began. There was massive roof damage done due to an Evanston Hail Storm, which is not noticeable from this image we took. We had to go back and forth with the insurance companies, then hired engineers and insurance adjusters.
The damage was severe to both the tile roof and copper roof portions too.
It is almost like looking at this nice image of Ryan Restorations working from afar, where it is of course scenic, but it is hard to appreciate all the work actually being done.
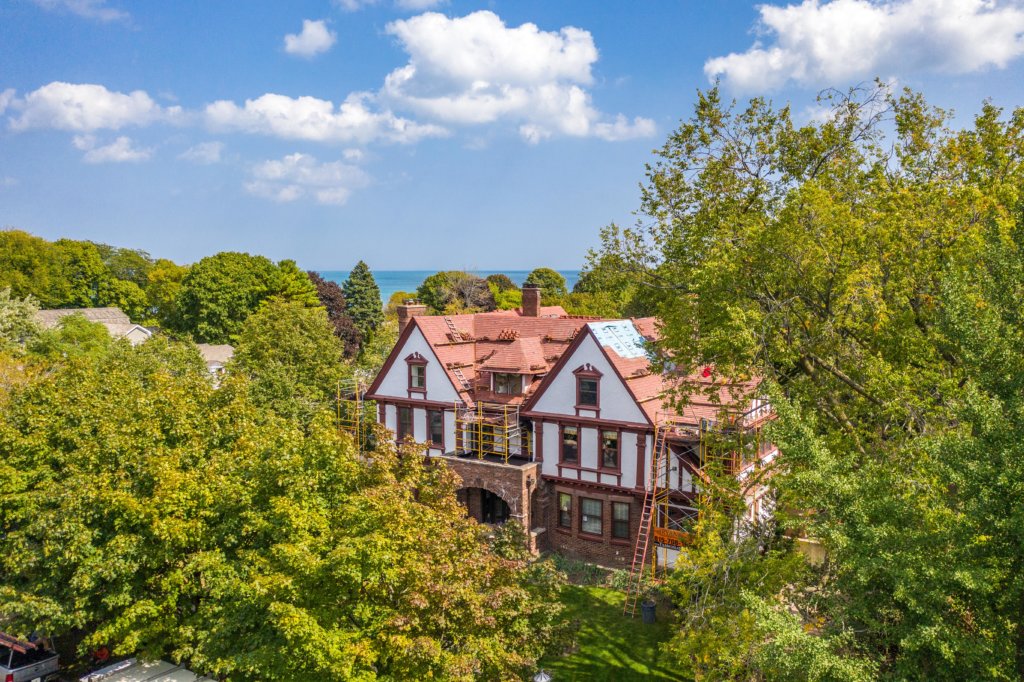
Then getting closer shares a completely different perspective.
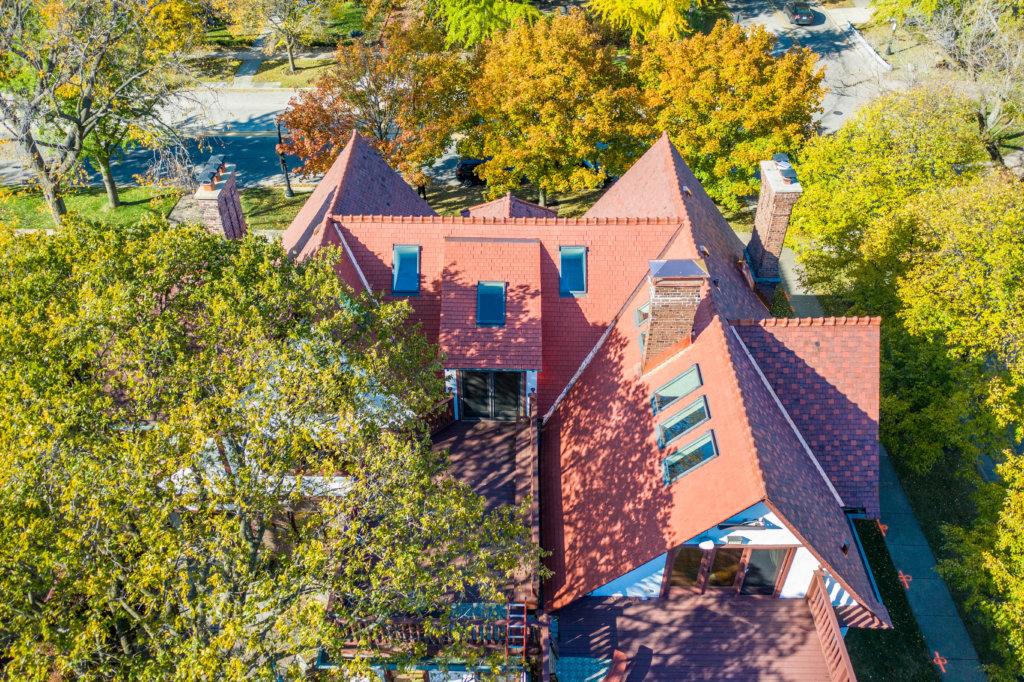
But even a house of this magnitude needs to be seen from different directions to ensure you do not miss anything. At another angle you get to see the new skylights that have been installed.
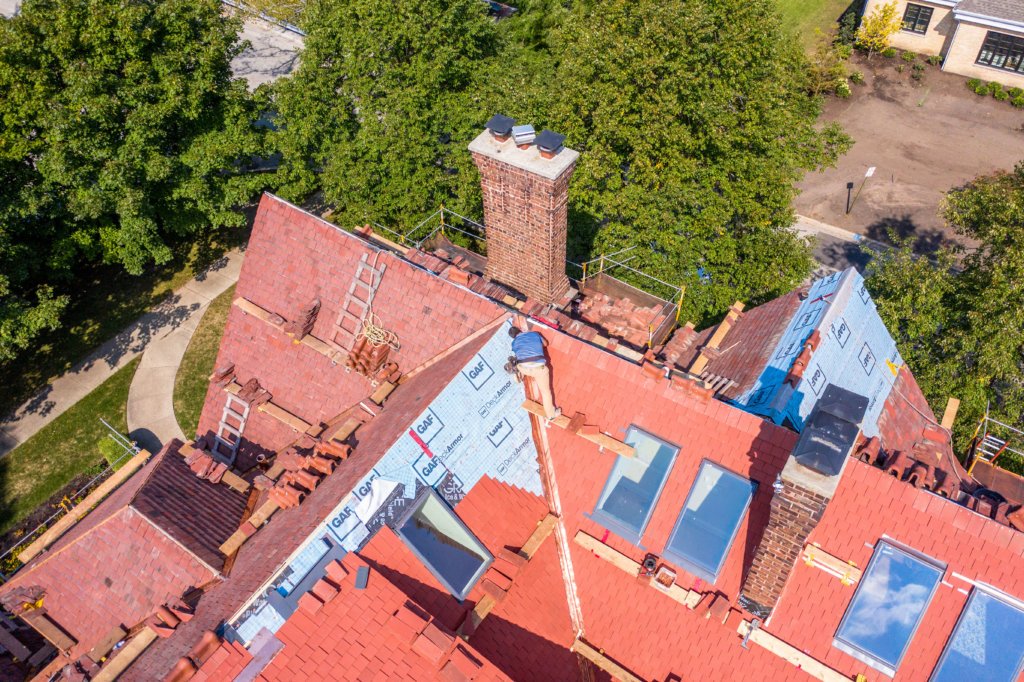
The Aerial view going up just above the roofer working by the valley shows the roof 90% installed. All the scaffolding and wood boards are visible.
This is the story of Ryan Restorations installing New 100 Year Roof. We continue to foster this ancient craft. Very little has changed. The technology that helped the most is electricity, but not much beyond that when you are on the roof. We still use old tools and old methods.
So now we finish with some images from this gorgeous New Evanston Slab Tile Roof and Copper Roof.
So when you see us showing projects such as this, you now have a portion of the answer of a favorite question we are asked the most, “Wow, just how do you do it?”.